
6 Ways How to take Screenshot on Windows 10. How to take screenshot on windows 10? Taking a screenshot on Windows 10 is simpler than you might imagine, whether you want to record a conversation, capture an error message, or simply capture something interesting on your screen. I frequently use screenshots to provide clear explanations because I’m constantly testing new workflows, tools, and apps. Today, I’m going to share the quickest and most straightforward methods for doing so.
6 Ways How to take screenshot on windows 10
Let’s examine the most practical screenshot techniques that are integrated into Windows 10.
1. Employ the traditional method, PrtScn (Print Screen).
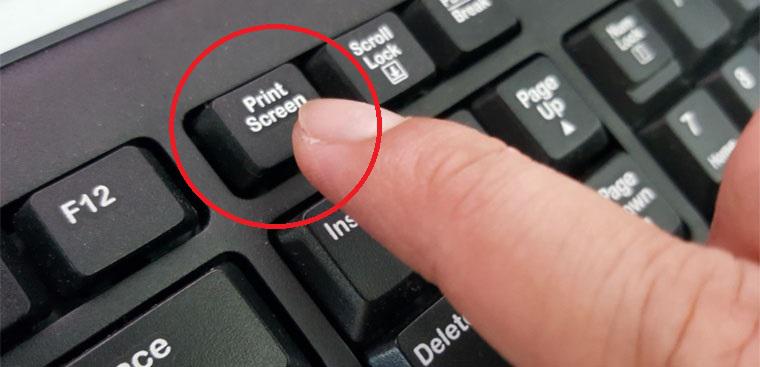
- One of the fastest ways to capture your entire screen is still to use the classic Print Screen button.
- Simply hit the PrtScn key on your keyboard.
- The entire screen is copied to the clipboard.
- Coming way To bury it, open Paint, Word, or any other image editor, also hit Ctrl V. Next, save it. This system is easy to use and does not bear any fresh tools, but keep in mind that the screenshot is not saved automatically.
2. To capture just the active window, press Alt PrtScn.
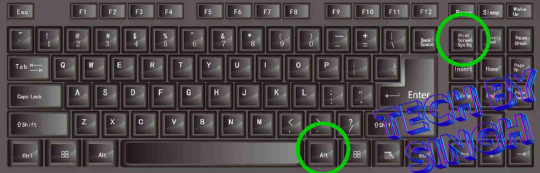
- This roadway is ideal if you only want to snare the window you are working in and not your entire desktop.
- How to negotiate it Hit Alt PrtScn. It only records the window that’s presently open.
- Coming way To save or modify, bury it into a program like Paint or Photoshop. You can cut down on cropping time by doing this.
3. My particular fav is to use Windows Shift S( crop & Sketch).
")
This is the most adaptable and stoner-friendly approach, in my opinion.
- How to negotiate it Hit Shift S Windows.
- What takes place A bitsy toolbar with four snip options appears at the top of the screen as it dims
- A blockish Snip
- Freeform Snip
- A Snip of the window
- Fullscreen Snip
- Where it travels You’ll admit an announcement allowing you to open and edit the screenshot in the Snip & Sketch app after it has been copied to your clipboard.
- It’s quick, clean, and gives you control, which is why I use it every day.
4. Save Without Copy-Paste by Using Windows + PrtScn

Do you need a fast screenshot that will save itself as a file?
- How to accomplish it: Hit Windows + PrtScn.
- What occurs: A brief flashing of the screen.
- Where it is stored:
- Select This Computer > Images > Screenshots.
- Ideal if you’re taking a lot of pictures and don’t want to manually paste each one.
5. Make Use of the Original Snipping Tool

The Snipping Tool existed prior to Snip & Sketch.
- Where to find it: Open the Start menu and search for “Snipping Tool.”
- Features: Select from full-screen, window, rectangular, or freeform snippets.
- Bonus: You can grab menus or hover states by delaying the screenshot by a few seconds.
- Although Microsoft is gradually replacing it, it is still functional and part of Windows 10.
6. Use Windows + G – Best for Gamers (Game Bar)
- Use the Game Bar( Windows G) for the stylish gaming experience.
- The Xbox Game Bar is designed specifically for gamers and content directors.
- How to open megahit Windows G.
- How to do To take a picture, click the camera icon or hit Windows Alt PrtScn.
- Where it’s stored In your stoner flyers , elect vids> Captures. also, you can record gameplay and prisoner highlights with this system, which is essential for gamers and pennants.
TechbySingh’s Concluding Remarks about 6 Ways How to take Screenshot on Windows 10
6 Ways How to take Screenshot on Windows 10. Whether I’m writing a blog post, assisting a reader with troubleshooting, or providing a how-to, screenshots are an integral part of my workflow. Full screens, just the active window, or a custom selection are just a few of the built-in methods that Windows 10 provides to capture precisely what you need.
My preferred technique? For speed and flexibility, press Windows + Shift + S. However, Windows + PrtScn is the best option if you want files saved instantly.
You now know 6 Ways How to take Screenshot on Windows 10 like a pro, regardless of the method you use.
Watch this space for additional quick tips that are exclusive to TechbySingh. 6 Ways How to take Screenshot on Windows 10